
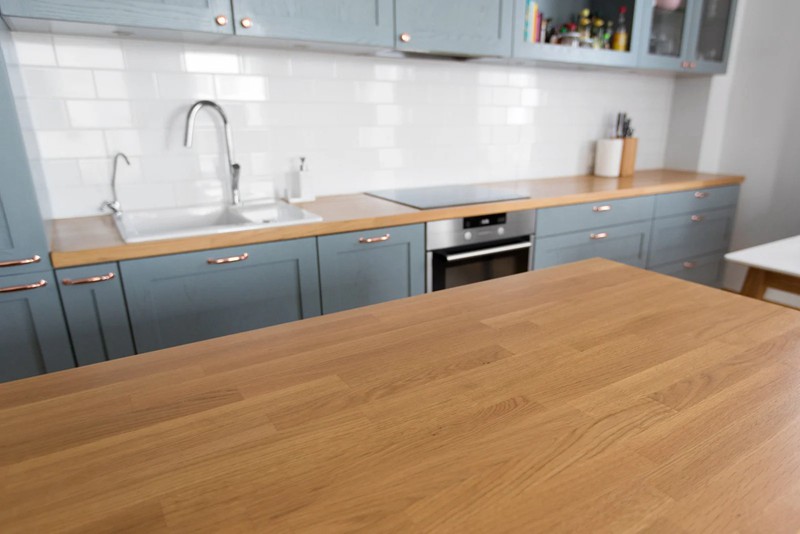
If your countertops no longer appeal to you, you are considering replacing them with marble or granite. Although these options are good, they are expensive and require much maintenance. A new granite countertop can cost up to $100 per square foot.
Painting your countertops may be a good and cost-effective option if you do not budget for this costly replacement.
Many homes today have laminate surfaces used as kitchen cabinets, bathroom countertops, bookshelves, desks, or other furniture. Because these surfaces are not porous like natural wood or stone, you cannot expect the paint to adhere to them.
For example, paintings that look like stone or granite, like acrylic interior paints, are widely available in markets.
However, before applying paint, you should adequately prepare the laminate surfaces. Painted laminate countertops are ideal for an upgrade, especially if you’re on a tight budget. Before starting this DIY project, continue reading to learn a few things you should know.
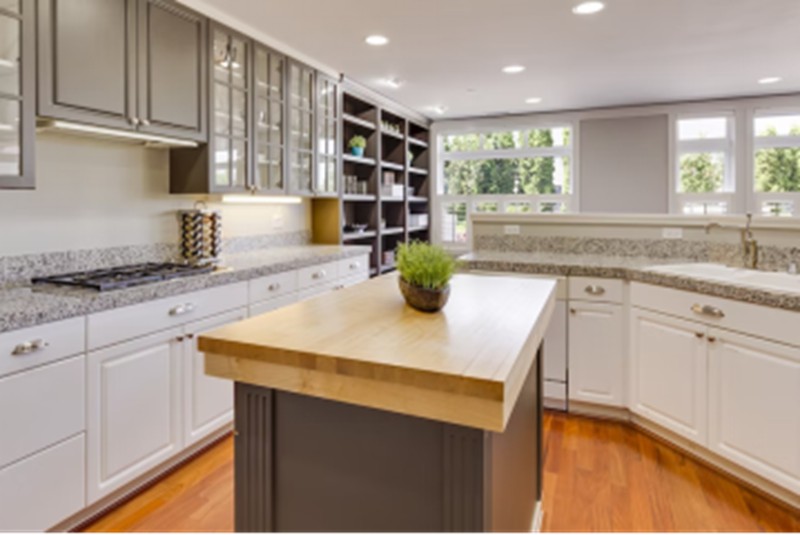
Table of Contents
Why Paint Laminate Countertops?
Painting your laminate countertops is a low-cost way to make a big difference in your home. Painting your laminate countertops is much less expensive than replacing them. One fascinating aspect of this project is that you can get everything you need at a nearby paint store.
Many people recommend using a water-based acrylic primer and paint, but you can use whatever you want.
Your DIY-painted laminate countertops may not be as durable as absolute granite, but you saved money for something else.
Drawbacks of Painting Laminate Countertops
Before you start painting your laminate countertops, there are a few things you should think about. First, you should know that you can only paint on some countertops regardless of preparation. Before purchasing paint or other materials, consulting with experts or shop owners is critical.
Make alternate plans because the paint smell may prevent you from using the kitchen or bathroom for a week or two.
Also, remember that this project is time-consuming, so if you plan on doing it yourself, be prepared to invest your time. If you want the project completed quickly, you can hire a professional, but it will cost more.
The painting will beautify the countertop, but it will not repair any broken worktops, and you might need to repaint it after a few years.
How to Paint a Laminate Countertop (Step-by-step Guide)
Professional painting of laminate countertops requires careful preparation and sealing. Hiring a professional for this is unnecessary if you are a handyman.
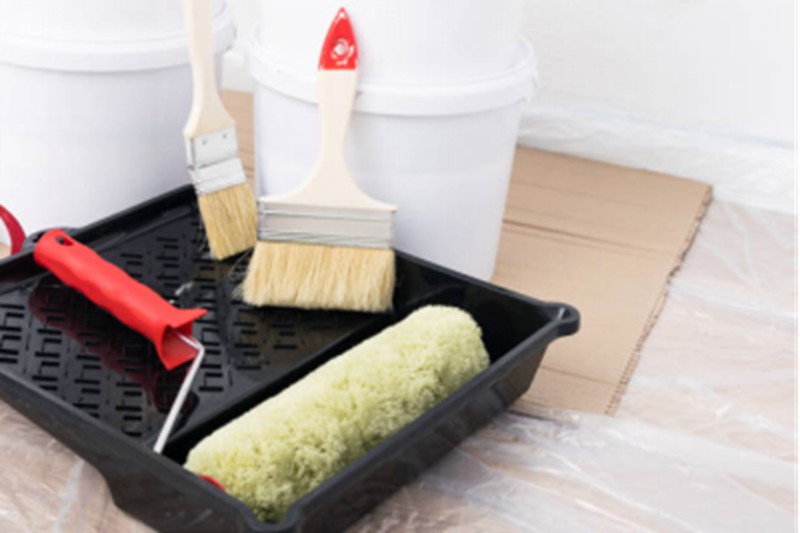
The steps outlined here are self-explanatory; you will achieve success if you follow them diligently. The supplies you need are listed below; most are everyday, inexpensive household items.
- Goggles and mask
- Work gloves
- Drop cloth
- Laminate paint
- Painter’s tape
- Paint tray
- Degreaser
- Sanding block
- Sandpaper
- Clean rags
- Primer
- Paint roller
- Topcoat sealer
After gathering your supplies, the next step is to set up your workspace, which is the countertop on which you will work. Remove everything from the worktop surface and anything edible from the room. Open the windows and turn on the exhaust fans for maximum ventilation.
Step 1: Prepare Your Countertop

Apply a mild detergent to the surface, then use a sponge and water to clean it of all dirt, grease, dust, and debris before allowing it to dry.
Be sure to remove all grease from the worktop’s nooks and crannies because it will affect how the paint adheres to the countertop. Allow the surface to dry completely before wiping it down with a slightly damp cloth to remove dust and lint.
If your countertops have any damage, now is the time to use fillers to fill in any holes or cracks. Use sandpaper to slightly roughen the surface of the laminate countertop so that primer and paint can adhere to it effectively. Poor paint adhesion will produce undesirable results, especially on a countertop.
You can also use a paint prep product like Savogran Pre-paint Deglosser. Place drop cloths on the floor where you’re working and secure them with painter’s tape so they don’t move.
Use plastic sheeting and painter’s tape to cover areas from the countertop you don’t want to paint. Use painter’s tape to cover areas where a countertop meets walls or surfaces you do not wish to paint.
Step 2: Apply Primer
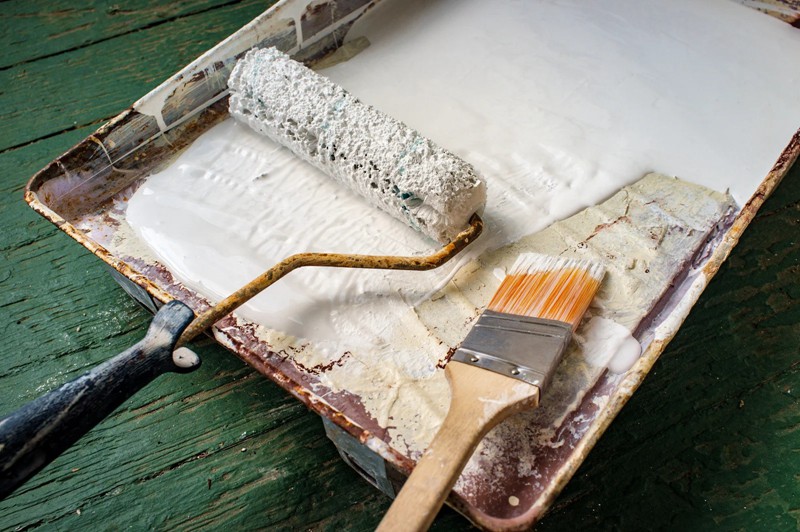
Apply a coat of primer to your countertops with a paint roller to evenly distribute the primer across the surface. Keep a small angled paintbrush in your paint tray and roller for hard-to-reach areas.
This paintbrush will help you reach areas where the roller cannot, such as around the sink and adjacent wall edges.
Depending on how dark and large the surface you’re painting is, you may need more than one coat of primer.
The primer is a white base bonding color that hides any underlying colors or stains behind your new paint. Its purpose is to bond to the scuffed laminate and provide a surface for the paint to adhere to.
Allow at least six hours, preferably overnight, after adequately applying prima to the worktop’s surface.
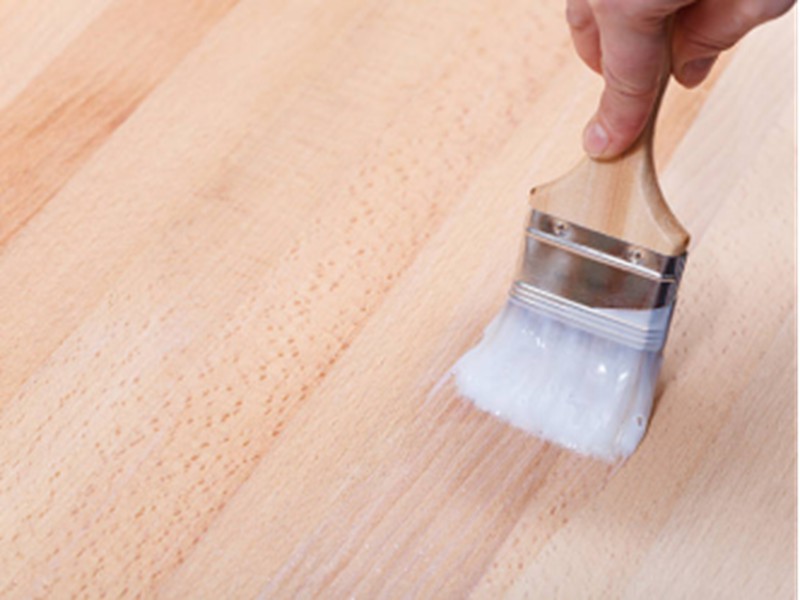
Step 3: Apply Paints
Many paints and paint kits are designed specifically for painting laminate countertops on the market; it all depends on your preferences and budget.
Using your paint tray and roller, apply an even coat of worktop paint to the entire surface. A small angle-tip paintbrush will cover the back corners and edges well. To achieve the best results, allow the first coat of paint to dry completely before applying the second coat.
Remember to use a semi-gloss or satin finish if you’re applying it to furniture to prevent it from looking shiny. For a surface that is simpler to clean, you should use a semi-gloss or high-gloss finish.
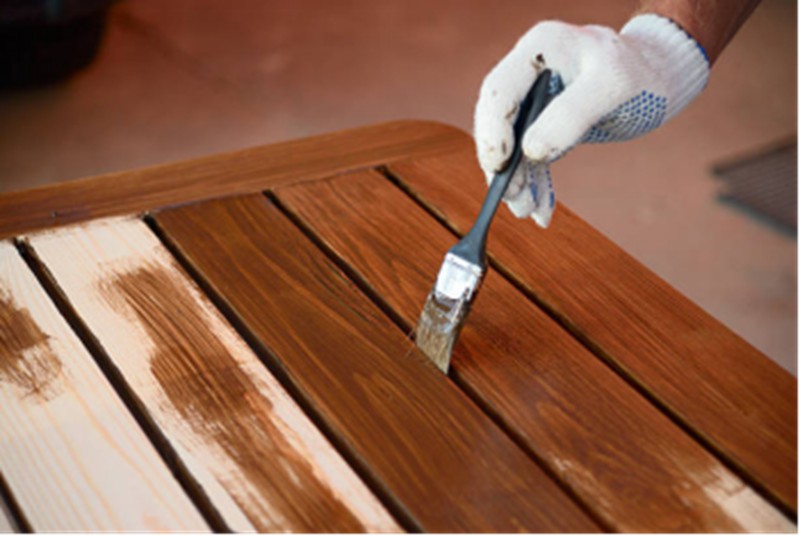
Step 4: Apply a Top Coat
When the paint has dried, it is time to apply the top coat. A top coat is required to protect the surface and ensure the countertop’s longevity. After the first top coat has dried, you should apply a second top coat to ensure strength and durability.
The top coat used also determines the durability of the painting and the nature of the original surface. Polyurethane is a type of top coat that protects and enhances the luster of your painted countertop.
You should apply Polyurethane with a high-density foam mini-roller and a small, high-quality brush for hard-to-reach areas. Allow for the manufacturer’s recommended drying time before using it.
Step 5: Tidy Up Your Workspace
It’s time to clean up your workspace; adequately cover unused paint cans and discard empty ones. Wash and clean your work tools in warm soapy water, especially your paint brushes. Set your roller covers and brushes aside to dry after thoroughly rinsing them in water.
Depending on the type of paint you use, you may need more than just water to clean your tools because non-latex colors do not dissolve in water. Remove your drop cloths carefully to avoid spreading paint to other surfaces.
Also, remove the painter’s tape at a 45-degree angle to avoid removing any fresh paint. Remember that the longer it remains on, the more difficult it will be to remove.
Common Mistakes to Avoid When Painting a Laminate Countertop
Painting laminate countertops are simple. Painting your laminate countertops can transform your home and increases its value. To achieve a professional appearance at the end of the day, you must ensure that the job is completed thoroughly and without errors.
Painted countertops are becoming increasingly popular, but it could be a challenging project. This project necessitates planning, patience, and preparation. The following are some common errors to avoid:
Unpreparedness
Although this is a common problem with most painting projects, it is worse when painting laminate countertops. Painting countertops takes at least one or two weeks; take your time painting your laminate countertop.
Experts recommend three coats of paint and four coats of sealer, each of which will take at least 24 hours to dry.
Allow each coat to dry completely before proceeding. The countertop sealant must then cure for at least one week to two weeks. Cover everything you do not want paints to drop on with a drop cloth, and carefully tape it off.
When sandpapering, an electric sander may be the faster option. However, be aware that it generates so much dust that it is nearly impossible to clear. The hand sander takes longer and is more difficult to use, but it will help you achieve the desired smooth finish.
This project is ideal when planning a vacation, as it will give your painting enough time to dry before your return.
Using the Wrong Tool
No matter how good you might be at painting, the countertops will show brush strokes. Using a foam roller is the best method for applying countertop paint. To avoid a bumpy counter, use a smooth foam roller and a small brush for details and edges.
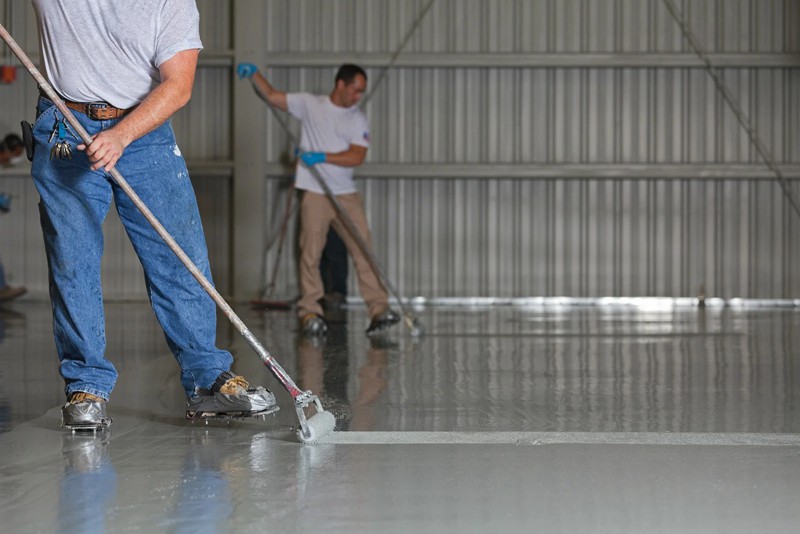
Apply each coat with the same tools to prevent brush strokes from showing through to the top. Consider purchasing a paint sprayer if you are painting an ample counter space. Paint sprayers can get into corners and edges more efficiently than brushes.
Paint sprayers provide a smooth finish and reach into corners and edges better than brushes. Paint sprayers are reasonably priced, strong, and long-lasting enough to complete more extensive projects in a reasonable amount of time.
Don’t Forget to Seal Your Painting
Seal your paint frequently and thoroughly. Purchasing a suitable sealant is one area where you do not want to cut corners to save some money. Instead, spend the extra money on the best sealer you can find.
Sealers protect your painting from moisture, dirt, and heat, reducing its likelihood of damage. It also prevents fading, scraping, or peeling off too quickly. Sealer will improve the gloss and finish of your painting, making it more appealing.
If you do not want clear-coat Polyurethane, get a countertop acrylic sealer. Consider buying one with a durable semi-gloss or gloss finish.
A cheap sealer can ruin the entire project. The paint will not last on its own; it will require the protection of a sealant. You should also ensure your sealant is food safe, as your countertop will contact food.
Although some artists dislike varnishing their paintings because sealer can darken the colors, mainly acrylic paint. You can, however, decide not to varnish your work; you can buy a removable sealer instead.
Frequently Asked Questions
Can You Paint a Wooden Countertop?
To begin, you must purchase cabinets, furniture paint, and primer. Then, sandpaper the worktop of the wooden cabinet to allow the primer to sit on the surface properly. Apply the primer to seal the surface and provide a foundation for the paint to adhere to the countertop’s surface.
Should I Sand All Surfaces Before Painting?
Sandpaper is the best way to prepare a surface for painting. Since paint does not adhere well to sealed surfaces, sand porous countertop materials before painting.
Should I Use Epoxy as a Sealant?
When appropriately used, epoxy coater is a sealer that provides a strong and long-lasting surface. The sealer is well-known for its high strength, toughness, and chemical or environmental damage resistance. Epoxy is non-porous and heat and moisture-resistant.
Final Words
We’ve covered everything you need to know to paint your laminate countertop; you can see this YouTube video for a recap. Although painting your laminate countertop will not give you a designer look, it is a great quick fix to refresh a worn-out laminate countertop.
The steps described here are a good option if you need a quick fix or a temporary solution for your home’s dingy old laminate countertop. Remember to apply a second coat once the surface has been coated and dried. Two coats of top coat should be enough to create a beautiful and long-lasting countertop surface.
Use your countertops gently until it dries completely, which takes about 14 days for a water-based acrylic top coat. Have fun painting!